Welcome back to the T Shirt Quilt Along, by now I hope you have hopped over to this post here and have all of your shirts gathered and cut and ready to go. If not, no big deal, hop on over and make it happen and then head back on over here for the next step.

This week's part of the quilt along is getting all of those t shirts into rows to make it easier to attach to each other. It's fairly simple as long as you have the right tools. I believe I mentioned how I use a Jelly Roll just to make my life easier. They are strips of fabric, that are pre-cut 2 1/2 inches by width of the fabric. I usually get mine at JoAnns and use my handy dandy coupon to get a good deal. You can also find them on Etsy or on sites that sell fabric.
They usually look like this:


When you unroll it you get all these neat fabric strips.

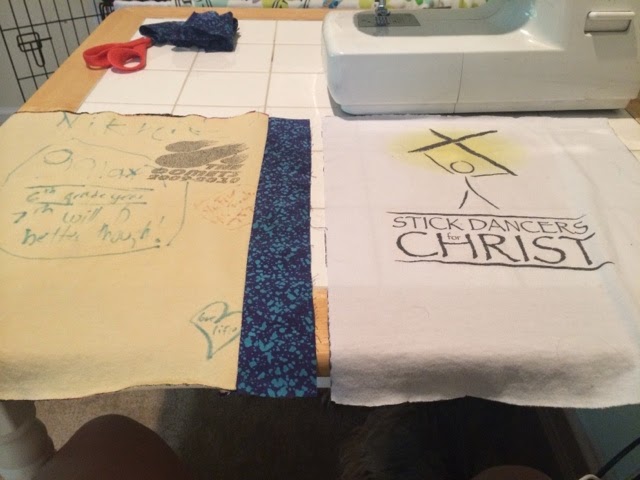
The next step that I do is basically a lay out. We are using 30 shirts so I am doing 5 across the top and 6 down the side. Now this is the place you can move stuff around and decide where you want shirts. It's entirely up to you. I don't like all the white shirts to be in section and all the blue in another, I like to be somewhat spread out all over the quilt. It's up to you, lay them out and have some fun. (I end up keeping this photo on hand to remind me which shirts go where because I often forget.)

**Not pictured - usually after I lay them out I start at the left and stack the shirts in order based on their row and then fold them in half, it helps me to keep them organized.
Now comes the sewing. Grab your first shirt and one of your fabric strips. Then you will put them together right sides facing together along the right side, and place that in your machine. It's up to you on what size seem you want to use I just always use the second line on my machine as my guide, you can as well or whatever else you decide to use.

Give that pedal some gas and let it go making sure that your fabrics are still matching up and not sliding back and forth on you. (Yes, you can use some straight pins if it will help you, but the shirts are not that long so I don't use them until later in the project)

** Your fabric strip will most likely be longer then your shirt, I just leave it on there until I am done sewing to the end of the shirt.


Sew all along the length of the shirt and make sure you give a little back and forth motion on that sewing to give you some insurance so that strip doesn't decide to disconnect from your shirt.

You can see my little insurance down at the bottom where the string is a little thicker.

Then I flip that shirt over so that it is on top and I can see a direct line to cut off the remaining strip.

Take those fancy (or not so much) scissors and cut it off. (If you don't already I highly recommend owning a good pair of fabric scissors and guard them with your life. They are such a good investment and will be a life saver when it comes to cutting fabric as long as they are not used for other things.)

There you have it, keep that extra strip we will use it!


Basically, all you are going to do is press that seem so its flat and not trying to curve away. Just go along the seem and press as you go.

Keep going to make sure and get the entire length of the seem.

Now we are going to attach the next shirt. Lay down your first shirt with the strip attached right side up and the next shirt in your row next to it right side up as well.
Then flip the new shirt over so that the shirts are facing with right sides together and line them up along the right side again.

With your same seem sew down the entire length of the shirt. (or in my case as long as the shorter shirt, my cutting might not all be even, but hey we mentioned this wasn't going to be perfect!)

Take that joker back over to your ironing board and now you are going to press that seem the entire length again.

From here you are going to attach the next three shirts in that row. Start with another strip and then add another shirt until your last shirt. Making sure you line up right sides facing, sew, and press, and repeat. Once you have attached your 5th and last shirt in the row then you don't need to add another strip. The row should look like this when you are done.

I also like to alternate my strips of fabric but it's entirely up to you, let your creativity be your guide.
Continue with this until you have all 6 rows finished.

You can also grab a sewing buddy, or in my case, my roommates dog, Milo who loves to sit right at my feet under the table as I sew.
Next week we are going to be attaching all of those rows together to get the front of your quilt.
See you then!!
Jenny


