Showing posts with label Food. Show all posts

Tuesday, March 10, 2015

Fried Cabbage

Growing up I ate two vegetables....canned corn and canned green beans. No salad, broccoli, squash, cabbage, pea...nothing else. It was not until I got to college and then beyond that I actually started eating all of the great vegetables this world has to offer. Living on my own and cooking for one most of the time has enabled me to be adventurous and try new things. A while back I found a Kielbasa and Cabbage recipe on Pinterest and was inspired to make it. I did and it tasted so delicious and I knew that my love for cabbage was growing. Fast forward to this past weekend when I went over to some friend's house and they made fried cabbage and sausage for dinner. I knew it was a meal that I wanted to make soon. The next day I went to the store and got all of the ingredients and last night after hitting the gym I made some, and I was going to pair it with some sausage but ended up just eating half of it in a bowl by itself...it was perfect.

FRIED CABBAGE

Ingredients:

1 head of cabbage
4 slices of bacon
1 small/medium onion
2 Tbsp Olive Oil
2 Tbsp Butter
Salt
Pepper

Directions

First get a nice deep sauce pan, I acquired mine through my old job as a nanny when they cleaned out their kitchen. The cabbage starts out a little unruly and then cooks down but regardless don't use a shallow pan.

Put 4 slice of bacon in the pan on medium low and let that bacon cook and release the fat for a good while. The bacon does not need to get crispy, you do not want the fat to get scorched so slow and steady wins the race in this recipe. (I know my picture only has three slices but I added one more!)


While that bacon is cooking up chop the small/medium onion into bite size pieces. (If you want your cabbage to be more on the spicy side use a large onion, I just want enough of the flavor and not be overwhelmed)
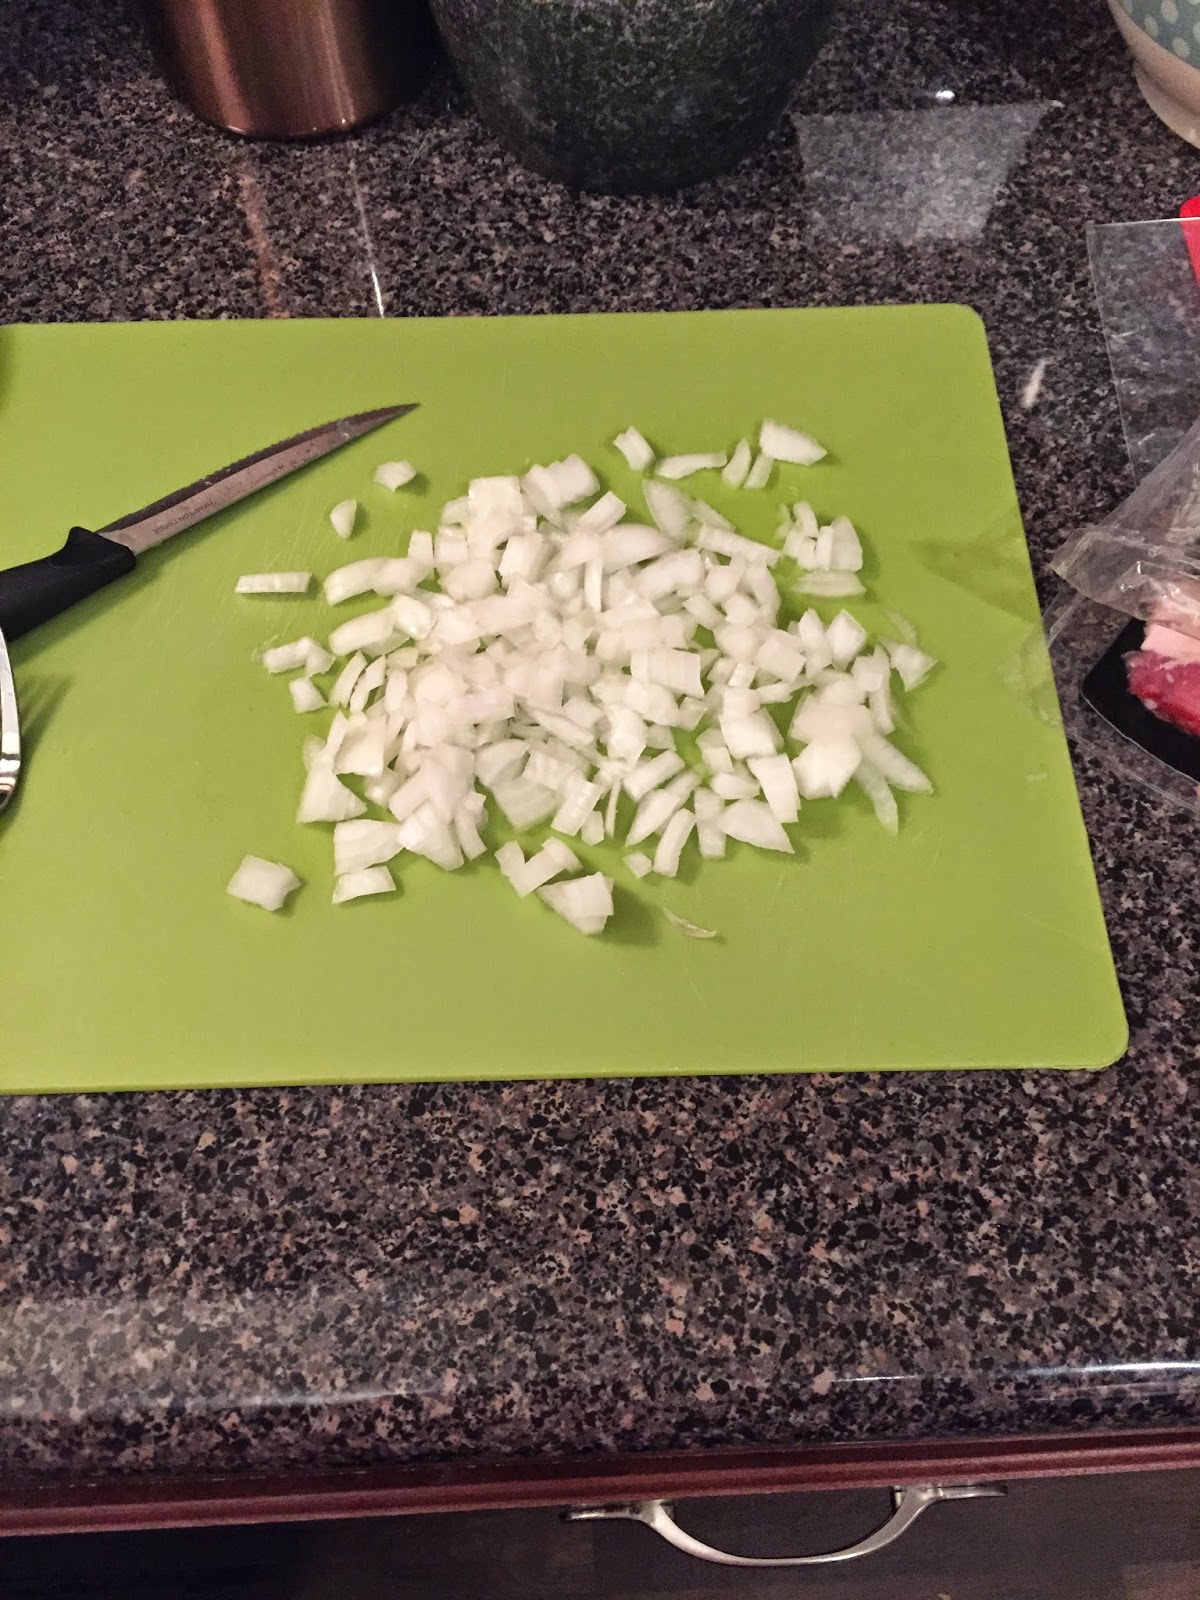

Take the cabbage head and chop it into larger pieces, there is no rhyme or reason on cutting the cabbage, I like my pieces long and thin but if you want them chunkier that works as well! Set aside the cabbage and onions and focus on that bacon for now. 


After the bacon is cooked, remove it and set it on a paper towel to drain a bit. Don't do anything with that bacon fat, other then slide those onions right on in there. You're senses won't know how to thank you, because at this point the house smells like it belongs in the south where you know good cookin' is happening. 


Cook the onions for a few minutes to get them brown and tender, and then add the whole head of cabbage into the pan.


After you put the cabbage in the pan, stir it around for a bit and let the bacon fat with the onion juices spread around. Then here is where I add the the 2 Tbsp of both the oil and the butter and continue to stir it around so there is no chance for burning. At this point raise the temperature to medium-high (or number 7 if your stove is like mine).


Cook that for about 10 minutes, stirring often to help ensure the cabbage is getting cooked evenly. At point take the bacon that you set aside and chop it up into smaller pieces and add it to that cabbage mix. 


Continue to stir and stir and have patience, it can take a while but it gets there and in the end you will be so glad that you waited and didn't jump the gun. 


In the final stretch the cabbage goes from the top picture to the bottom picture...as you can see it reduces down a good bit, but that is where you get some of the best flavor. 


The cabbage already has bacon in it, but if you want you can pair it with a nice Kielbasa or Sausage...or if you're like me, just slap some in a bowl and put on How to Get Away with Murder and call it a night. 


Until next time....

Jenny 

Tuesday, February 4, 2014

That Guac Tho....

Once upon a time there was a girl who wasn't really a fan of avocados or guacamole. As she got older and learned the errors of her ways she tried some and fell in love. The end. 


Well yep that was me. Story of my life is not liking something for a long time, and then trying it in the last couple of years and loving it. That's basically what happened with guacamole. So of course with the super bowl being this past Sunday I wanted to make some fresh guacamole to take with me to the party I was attending. I had a few of the ingredients from the farmers market I went to and so only had to get a little more.


It's a good guacamole full of flavor!


Ingredients:


8 Avocados
2 Limes
2 Roma Tomatoes
2 Cloves of Garlic
1/2 tsp Garlic powder
1/2 Red Onion
1 Jalapeno Pepper
1/4 Bunch Cilantro


Start with the tomatoes and clear out all of the seeds and dice them up into small chunks.


Then take that jalapeno pepper and do the same thing, take all of the seeds out and dice it up super small.


Mince the 2 cloves of garlic.


Chop up the 1/2 red onion and join them with everything else in the bowl.


Then there is the avocados. You want to make sure you have ripe avocados so that they mash easily. Cut around the entire avocado and then take the pit out and scoop with a spoon the insides into
a bowl.


Take your two limes and cut them in half and squirt all the juice into the avocados and start mashing. It is totally ok if there are chunks left. No one minds a good bite of full on avocado.


Mix in the ingredients from the other bowl and add garlic powder to taste (I love me some garlic so you can use your discretion on how much you want to use). Take about a good handful of cilantro and chop it up a bit and mix in as well. Then wa-la! Some good guacamole. Make sure you eat it as soon as possible or it will turn brown.


Happy Tuesday!


Jenny


Thursday, January 2, 2014

Buffalo Chicken Dip

If you ever get invited to one of my parties or you ever invite me to a party, you will soon find out that I will make and bring some Buffalo Chicken Dip. What is Buffalo Chicken Dip you ask?? Well its goodness in a pan and when dipped with some tortilla chips makes the best party dish ever!

So naturally when I was invited to a New Years Eve party on Tuesday I knew that I would be making some buffalo chicken dip to bring to the party. I was actually invited to three parties but decided on the calm party where I didn't have to dress up and could take a simple nap on the couch, which I did! There were not that many people so we ended up with so much food, which isn't necessarily a bad thing. Some people were there who I never met before and as soon as they had my dip they said that they needed that recipe ASAP. Looking back through my blog I realized that I had never made a post about it. But no need to fear, it is finally here!

Jenny's Famous Buffalo Chicken Dip!

Ingredients

2 8oz Blocks Cream Cheese (Room Temp)
1 Cup Franks Red Hot Sauce
1 Cup Ranch
1 1/2 Cups Shredded Colby Jack blend
2 Cans Chicken Breast

1. First you need to make sure that your Cream Cheese is at room temperature, you are mixing everything together so you need it soft enough to stir. If need be you can throw it in the microwave for 30 second intervals until it is soft.

(Before just the blocks of cheese)
 
(After when it is soft)
 
 
2. Open the two cans of chicken and drain and mix them into the cream cheese.


3. Then add in the cup of hot sauce and the cup of ranch.


 4. Add in a cup of shredded cheese and mix it all together good.


5. After it is all mixed together you can put it in the fridge until ready to use or you can pop it in the oven at 350 for about 30 minutes. Basically you are watching it to see when it's heated all the way through. I usually stir it every 10 minutes until it is done.
 
6. At the last minute sprinkle the last 1/2 cup of shredded cheese on top and let it melt over the top.
 
7. When it's done pull it out and watch it disappear. You can serve it with crackers, triscuits, or my personal favorite tortilla chips!
 
(Obviously being so excited to eat the dip and having no patience there isn't a picture of the final product haha!)
 
That's it, super simple, but the people love it!
 
Happy Cooking,
 
Jenny


Tuesday, November 19, 2013

Bread and Butter

It's Tell Us Tuesday with Much Ado About Something! Today I am showing how to make homemade butter with kids!

Much Ado About Somethin


Two of my kiddos came home from school last week after doing Thanksgiving rotations. In both cases they were able to make Butter using little baby Jars and spread it on some crackers to enjoy. They both came home so excited and told me that "we must make some together!!!" So yesterday as I was getting up I packed up my Mason Jars and lids and then remembered my bread machine that sits in the laundry room and grabbed that as well.

When I got to the house S was home sick, which makes the 5th week with a kid home sick. I am sure she could have gone to school the way she was attempting to bounce around the house, but I told her she had to lay on the couch and rest so she could go for the rest of the week.

About 3 hours before the kids got home I prepared the bread in the bread machine. This appliance is probably still one of my favorites, so easy to use and it makes some amazing bread.

I also sat the Heavy Whipping cream in the mason jars to sit out at room temperature for a few hours. This helps to make the butter quicker and easier, which is just what is needed for those little hands shaking.

You start out by filling the mason jar about half way full.


Then start a shaking and keep shaking, it will get thicker and eventually coat the entire jar.

 
The kids have fun with the shaking!


And of course they had to get a picture of me.


It will seem like you can't shake anymore but just keep shaking you are not done yet. Eventually you will see it come off the sides cleans and you will hear a solid shaking around in some liquid. That would be the butter in the buttermilk.


Then pour it into a colander and you can save the buttermilk to bake with or just toss it.

 
Then rinse it with some cold water to help it keep longer in the fridge.
 

Then I put it in a bowl and start pressing it with a spoon to get all of the extra moisture out and eventually it will all ball together.


We added some salt to taste in a couple batches and then some cinnamon and sugar to a couple other batches. 


Then we transferred them to some containers and of course everyone had to have their own.


Can we talk about that school and couch laying hair?!?! Haha next time I am going to make sure to comb that out!

By that time the bread was done and cooling a bit on the cutting board.

 
I used a serrated knife and cut some slices and put them on a plate and covered half with the regular butter and the other half with the cinnamon butter. They loved every bit of it and each had a second piece.
 

It was really easy and the kids had a good bit of fun. We even have butter leftover sitting in the fridge ready to be used for breakfast and the butter sandwiches they eat for lunch. We go through a lot of butter every day.

Jenny
 

Tuesday, November 5, 2013

GOR-ILL-A!!!!!

If you don't know what monkey bread is then I instantly have a sad heart for you, because it's just only one of the best breakfast items known to man. Biscuits, butter, two types of sugar, and some cinnamon....mmm.

Well I have made monkey bread time and time again for different occasions and it always seems to be a huge hit. Well when I knew I was going to be at a sleepover this past weekend I decided I would get up and make breakfast for everyone. This time however I wanted to do a spin on Monkey bread and decided to make Gorilla Bread.

Gorilla Bread?!?! What is that? Well let me tell you. It's basically monkey bread but with an added bonus of cream cheese, yes I said cream cheese, the ever so decadent food that makes something that much more delicious.

 Ingredients

1/2 cup granulated sugar
3 teaspoon cinnamon
1/2 cup (1 stick) butter
1 cup packed brown sugar
1   8-ounce package cream cheese
2   12-ounce cans refrigerated biscuits (10 count) ( I use junior Grands!)

Pre-heat that oven to 350 degrees.

Take the white sugar and the cinnamon and mix them together in a bowl and set aside.

 
In a saucepan melt the butter and mix in the brown sugar over low heat and then set aside.
 

Take your block of cream cheese and open it up. Split it into 20 cubes.


Take your Bundt pan and spray it with Pam or use some Crisco to coat it so that it doesn't stick when it's done cooking.

Open up your biscuits and take one at a time. Press the biscuit out to be flat.


Take a couple pinches of the cinnamon sugar mixture and cover the whole top of the biscuit.


Place 1 cream cheese cube in the middle of the biscuit.


Fold the biscuit around to cover the cream cheese completely.


Continue to do this with the first can of biscuits and layer them along the bottom of the bundt pan.


Then take the cinnamon sugar mixture and cover the top of the layer of biscuits.


Take half of the brown sugar butter mixture and pour it all over as well.


Then repeat the process with the second can of biscuits.


Place it in the oven and let it cook 30 minutes and allow the smells to just completely fill the house.
Take it immediately and flip it over onto a plate, and let cool a little.


Or if you're friends are like my friends a piece will go missing immediately.


There you have it, such a simple breakfast food that is sure to please everyone.

Make sure to go check out Tell Us Tuesday to see what else is going on in Blog World.

Much Ado About Somethin


Jenny