Showing posts with label Fall Baking List. Show all posts

Friday, November 1, 2013

White Chocolate Chip Pumpkin Cookies

Last year when Lindsey and I were living in Alpharetta she found a cookie recipe on Pinterest and told me that she would like for me to make them one day. I did and they became one of our staples for all of fall last year.

I have made them a couple of times this season but just haven't gotten around to making a post on them, so without further ado here are the famous cookies.

Don't forget to go check out my Fall Baking List and see all of the other goodies I have been making! I originally got the recipe from here.
 
 
Dry Ingredients
 

  • 2-¼ cups All-purpose Flour
  • 1 teaspoon Baking Powder
  • 1 teaspoon Baking Soda
  • 1 teaspoon Ground Cinnamon
  • 2 teaspoons Pumpkin Pie Spice
  • ½ teaspoons Salt

  • Wet Ingredients
  • ½ cups Butter, Softened
  • 1 cup Granulated Sugar
  • ½ cups Brown Sugar
  • 1 cup Pumpkin Puree
  • 1 whole Egg
  • 1 teaspoon Vanilla Extract

  • Fun Ingredients
  • 1-½ cup White Chocolate Chips

  • Preheat that oven to 350 F

    Take the butter and soften it then mix it with the brown and white sugar the vanilla and egg. Then mix in the pumpkin, I just use a beater to get it all mixed together.


    Then take all of your dry ingredients and whisk them together in another bowl.


    Slowly add the dry ingredients bit by bit into the wet ingredients until you get a thick cookie consistency. (Warning: Hand will be tired...)

     
    Then add your fun ingredient (aka the white chocolate chips) and give it a good mix around, you definitely want a good cookie to chocolate chip ratio!


    Then spoon those cookies out onto your greased cookie pan, and bake for 10-12 minutes. (My cookies always end up looking how I put them on the pan, so if I take the time to make them nice and flat and round they bake that way, but if I slap some on there, it bakes just how it looks. Either way they taste the best.)
     
    After you pull those cookies out try your best to let them cook a bit then serve them to your favorite people. (Or put them in a bin and hide them in your closet....)
     
     
    These are a fun and easy cookie to make and they keep for a good while, the question is can you have self control to last that long :)
     
    Jenny


    Friday, October 18, 2013

    Happy Heart Apple Pie

    So as we all know, I bake a good bit. It seems to be my thing. I also tend to know a good bit about running a house, could be that my mom was a fantastic homemaker or I just read a lot of magazines. It never really realized to me how what I thought was simple knowledge is not necessarily so to others around me.

    My friend Kristi and I took a trip up to the orchards last weekend to pick some apples. We walked around and picked apples. I am a chatter box as well I just keep talking and talking about random stuff I know. I went on and on about how you want Granny Smith or Golden Delicious to make an apple pie as opposed to Red Delicious which aren't firm enough to hold up in baking and so they need to be used for applesauce. Luckily Kristi is the best and had no problem at all listening to me ramble on and on about this.


    As we were picking apples she asked if I would teach her how to make an apple pie and I jumped at the opportunity to say yes, because I just love when people want to learn to do something I love myself. We decided to meet on a Tuesday with our fresh picked apples and I would teach her the tricks and trades.

    She came over and I had already made my pie crust which is soooo easy!

    Basically

    2 cups flour
    1/2 teaspoon salt
    1 1/2 Sticks of butter
    1/4 cup water

    Mix the flour and the salt together in a bowl.
    Then I use a pastry cutter and cut in the butter...or honestly you can use a fork and then your fingers to make sure that it is mixed in.
    Lastly add in the water and mix it all together so that it forms a ball. Then cut it in half. (If you choose to use it at a later time just wrap it in Saran wrap and put it in the fridge till your ready to use it) Flour a surface and I like to flour my rolling pin. Then roll out the dough to be as flat as you can and so that it's round enough to fill in the pie pan. Using the pin transfer your dough from the counter to the pan and press it into all of the creases using your fingers to fill in everything. If you have extra dough coming over the sides you can cut it off and toss it or keep it around and see how I use it later.

    It's a little blurry but here is Kristi pressing in her pie crust and then of course Milo who hung around in the kitchen with us the whole time.


    Then comes to fun part, pie filling time!

    I used the recipe for a Dutch Apple Pie from Happy Hour Projects.

    4 Medium-Large Apples
    ½ c. sugar
    ¼ c. brown sugar
    3 Tbsp. flour
    ¾ tsp. cinnamon
    ¼ tsp. nutmeg
     
    Topping:
     
    ¾ c. flour
    ⅓ c. softened butter (not melted)
    ¼ c. sugar
    ¼ c. brown sugar
    ½ tsp. cinnamon
     
    Oven set to 357

    Take some Golden Delicious or Granny Smith or any other firm apple (in my opinion Golden Delicious make the best pies). You do not want to use Red Delicious they will just turn to mush and not hold their apple slice shapes that you want.
    You will want to peel, core, and slice the apples. I own a gadget that does all three of these and I was so excited showing and using it with Kristi that I forgot to take a picture. The gadget cuts a lot of time so if you do it by hand this will be the longest step.

    After you have all your apples sliced up place them in a large bowl.

    In a smaller bowl mix together all the rest of the ingredients for the pie filling.

     
    After all those ingredients are mixed pour them over the apples and mix them all together so that the apples are well and covered all over.


    After all your apples look nice and covered them, pour the entire bowl into your pie crust and make sure that they sit evenly.


    Then you can use the same small bowl or a new one, up to you and mix together everything but the butter for the topping. Then cut in the butter and it will resemble wet sand.


    Then take a handful and bunch it together in your hand then crumble it all over your pie so that everything is covered.


    You can take your extra dough and cut out cute shapes or anything else you want and just lay it on top of the crumble. I decided to use a bunch of little circles and make a heart.

     
    Place your pie on a cookie sheet covered in tin foil to catch any juice that might bubble over. Place the pie in the oven for about 45-55 minutes or until the top is golden brown.


    Kristi made hers with a cute apple decal on the top of her pie, how cute!

    You want to let it cool completely for a couple of hours so that it can set, if you cut in too early it will be very juicy and will fall apart. We didn't wait haha, but that's ok it was still good, presentation was not what we were going for. Top it off with some ice cream and you are all set.


    All in all it was sooo delicious and so much fun to make with my friend. So glad she wanted to come over and learn.

    Tonight I am making a football blanket that has been circulating Pinterest for my nephew for Christmas, hopefully I will be posting that tomorrow.

    For now, go get some apples and make you a pie!

    Jenny

    Don't forget to check out my other posts on my Fall Baking List!


    Tuesday, September 10, 2013

    Apple Fritters

    Man, yesterday was a good day. I posted about experiencing real Christian Sisterhood and it was something that came from my heart and something that I need to read often to remind myself. You can check it out here.

    Yesterday driving home from work, I knew that I wanted to do another baking item from my Fall Baking List. I looked at my Pinterest board and decided it would be the perfect night to do Apple Fritters, especially since my roomies boyfriend would be over to help eat them.


    I have been dying to get a fryer. I have always wanted one even when I was younger. Where some people want new clothes and shoes, I would prefer a new kitchen gadget. It's just how I roll. Well I still don't own a fryer but that didn't stop me from wanting to make these amazing Apple Fritters.
     
    Who loves apples?!?! Me!
     
    My mom and aunt are coming to visit for a quick weekend on their way back to Arizona from Florida and I cannot wait to have them here. I love my mom and have not seen her since May and she has not seen my new apartment yet. I was trying to think of what I wanted to do with them while they are here and finally decided that we would go apple picking because it is the perfect time to do so. In honor of that I made these Apple Fritters last night. I got the original recipe here.
     
    Ingredients:
     
    Fritters:
    1 cup of flour (but it doesn't have to be perfectly one cup, it can be overflowing)
    1/3 cup sugar
    1 tsp baking powder
    pinch of salt
    1 1/2 tsp cinnamon
    1/4 tsp nutmeg
    1/2 tsp vanilla
    1 Tbs Butter melted
    1 egg
    1/2 cup milk (maybe more)
    1-2 apples peeled and chopped up into pieces
    Oil
    Glaze:
    1 1/2 Tbs Milk
    1 cup powdered sugar
     
    First peel and chop up your apples (you can use whichever apple you like, I used Red Delicious) and place them off to the side.
     
     
    Then mix all of your dry ingredients together, and then your wet ingredients until you get a light cake batter looking mixture, adding milk if too thick or flour if too runny.


    Then add in the apples and get your oil ready to about 350 degrees. Or for me it was med-high heat on my stove. You will know when the oil is ready when you drop a very small bit of the mixture in the pan and it rises to the top. Once the oil is ready, you can use a cookie scooper or in my case just a plain old spoon to take a dollop and place it in the oil.


    Once that gets nice and going you can add about 3-4 more in the pan just making sure there is not too much crowding going on.  Every 30 seconds or so you can flip the fritters until both sides look a nice brown color.


    Then get some paper towels ready to catch these bad boys and let the excess oil come off of them. I just set mine on a paper towel on a plate.


    While you are cooking some you can start to whip together your glaze, or if you don't have enough coordination in between don't worry about doing this until all of your fritters are cooked. I tend to be a little crazy and quite messy when I cook.


    Mmm, my mouth is watering now.

    Keep making fritters until you have used all of your batter and then they are all done, toss them in a big bowl.


    From here you can just pour the glaze right over top of these, or if you are like me you can heat up that glaze for a solid 15 seconds and then pour it all over.


    Toss them around to make sure that everyone gets an even amount of coating. Then set them on some drying racks, but make sure you get some paper towels down underneath because they will be dripping glaze down.


    You can eat them immediately or let them sit for a bit, it just depends on how much patience you have but it doesn't matter either way because in the end these things are very delicious and just hit the spot!


    Don't forget to go and check on my Fall Baking List here. I have already done 4 recipes and many more will be coming soon as I attempt to bake my way through Fall this year.

    You can find my Pinterest Fall Baking board Here and the pin for this recipe here.

    Have a great Tuesday!

    Jenny

    Linking up today with some wonderful ladies for Tell Us Tuesday!
     
    
    Much Ado About Somethin

    Friday, August 30, 2013

    Pumpkin Cookies with Cinnamon Cream Cheese Frosting

    We are now 2 days away from September which means we are only 22 days away from the first day of fall....YES!

    I am coming into my prime slowly but surely and have now completed the third thing off of my Fall Baking List!

     
    Today I bring to you the product of not wanting to think about taking the GRE.... Soft Pumpkin Cookies with a Cinnamon Cream Cheese Frosting.

    I bake when I am stressed and I had just about had enough of looking at big vocabulary words and math problems for the day so I started baking.

    The original pin for this is on my Fall Baking Pinterest Board and you can find it here!

    Cookies
    2 1/2 cups all-purpose flour
    1 teaspoon baking powder
    1 teaspoon baking soda
    2 teaspoons ground cinnamon
    1/2 teaspoon ground nutmeg
    1/2 teaspoon ground cloves
    1/2 teaspoon salt
    1/2 cup butter, softened
    1 1/2 cups white sugar
    1 cup canned pumpkin puree
    1 egg
    1 teaspoon vanilla extract
     
    Frosting:
    1/2 cup softened butter
    1/2 cup softened cream cheese
    2-3 cups powdered sugar
    1 tsp. vanilla extract
    1 tsp. ground cinnamon
     
     
    Start by preheating that oven to 350, you know when you preheat the oven that it starts to feel good, cause glory is about to happen!
     
    Then take the Flour, Baking Powder, Baking Soda, Ground Cinnamon, Ground Nutmeg, Ground Cloves, and Salt and mix them together in a bowl, and set aside. (And if you are me, make sure you got your Frank Sinatra Pandora list going on in the background)


    In another bowl, take that 1/2 cup butter and white sugar and cream them together. (Jenny mistake, my butter was not softened -_- can we say over eager baker? Make sure you soften it ok? Ok.)


    Now comes the reason we are all here. Add that glorious Pumpkin. Oh Pumpkin how you amaze me with your ways. Welcome back for this season, you have been so missed.


    Add the egg and the vanilla as well and mix that all together!

     
    Then slowly....don't get too excited, start to add the flour mixture bit by bit until all is right with the world and you have a lovely batch of pumpkin cookie dough.*drooling is acceptable*


     Get your cookie sheets out and if you are like me and do most things just like mom did I put tin foil down because that means you have a much easier clean up. Spray that pan with some non-stick cooking spray.

     
    Drop a tablespoon of cookie dough for each cookie. (SIDE NOTE: What you drop is what you get, if you are like me and just dropped some because you couldn't wait to get to eat them, then they will bake just like that. On my second batch I greased up my hands and actually made the cookies a more uniform shape, it's up to you how you want to do it)

     
    Place them in the oven and let them bake for 15-20 minutes until perfection arises. While they are baking it's ok to sit down, relax, and just breathe in all that cinnamon and pumpkin smell.

     
    Pull them out and set them on cooling racks to be completely cooled.


    See more uniform cookies up top and to the bottom what I like to call more Avant Garde...


    While those beauties are just cooling, get all of your items together to make what could possible lead to my death with the greatness of it.

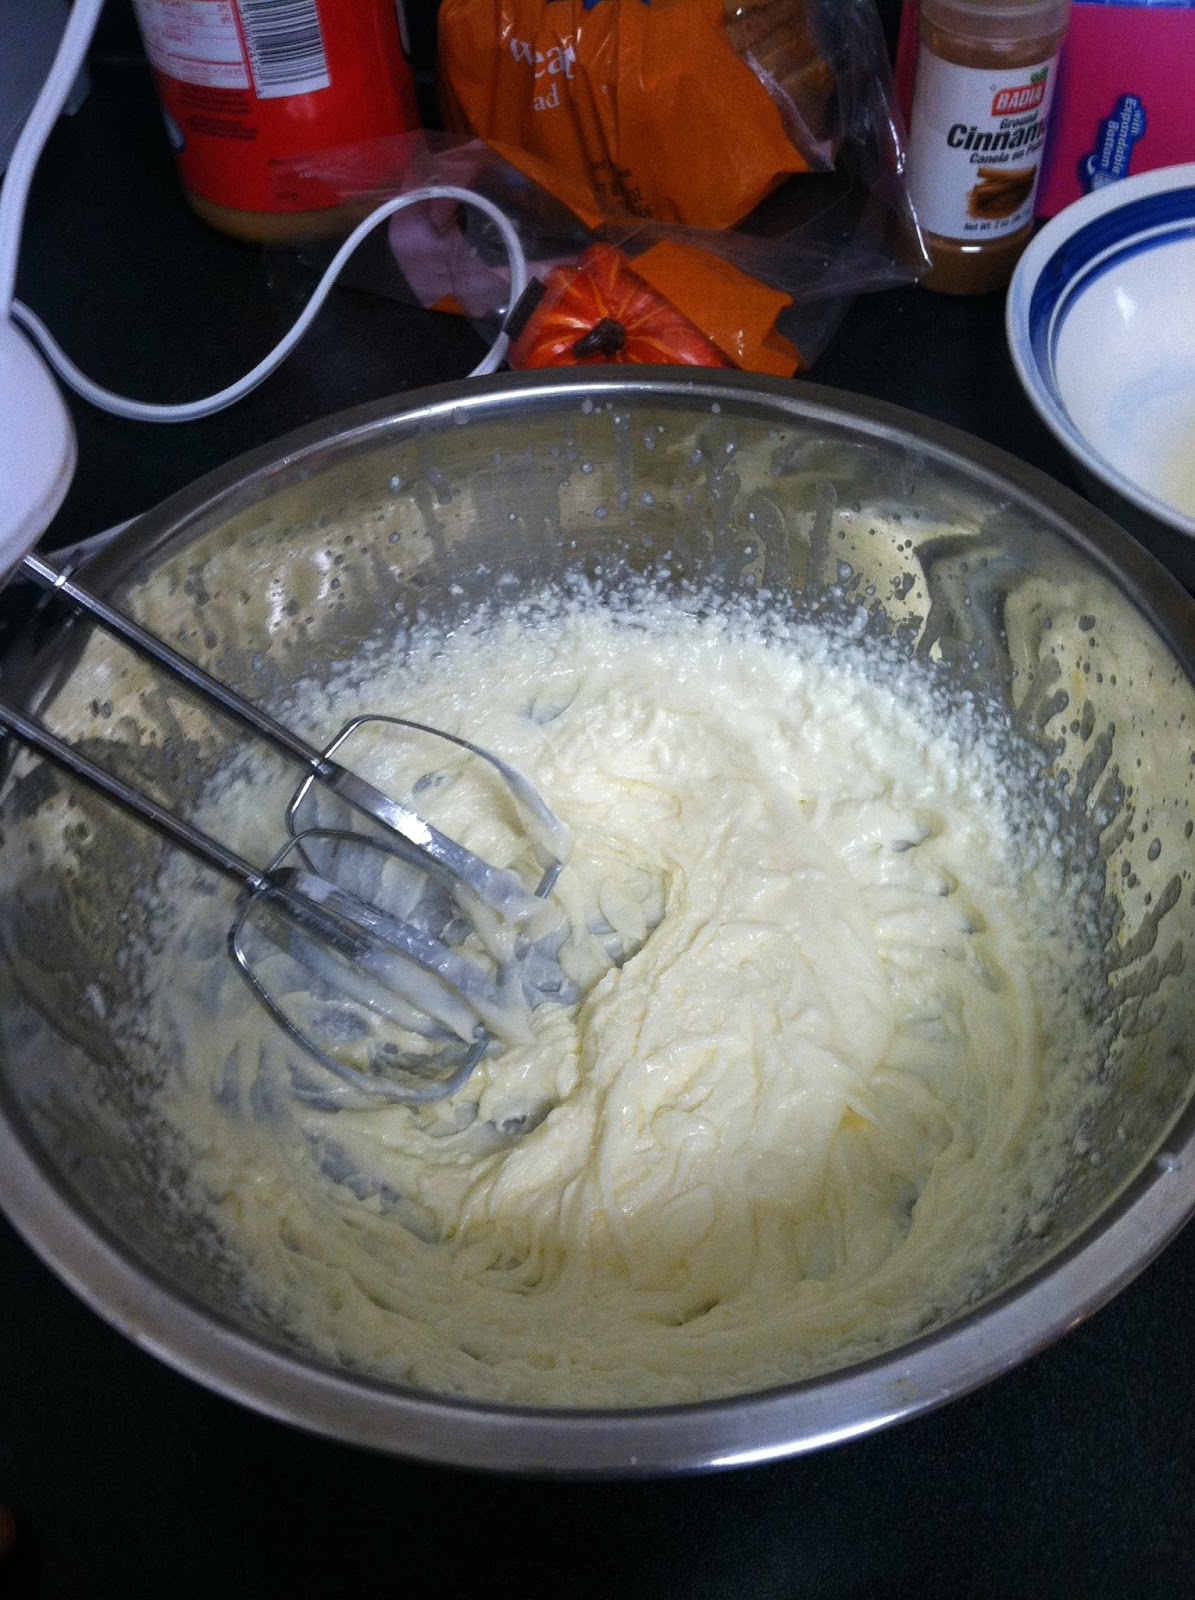
    Take the butter (note butter softened this time!) and cream cheese and cream them together in a bowl.


    Then slowly add 2-3 cups of powdered sugar about 1/2 cup at a time so that it doesn't produce too much of a mess, but what is baking without a little mess! I think I ended up with 2 1/4 cup sugar.


    Then comes the best part add some vanilla and the ever so great cinnamon and transform that from any old cream cheese frosting to the wonderful Cinnamon Cream Cheese frosting.


    Frost those beauties and partake in the wonderful that is everything fall should ever be!

     
    PS - Keep an eye out for these little buggars who attempt to thwart your plans by partaking in a cookie by their own accord.....
     
     
    Don't forget to go check out all of the recipes I have already created on my Fall Baking List Here.
     
    You can find the pin for this cookie Here.
     
    Jenny